ugly sweater ornaments

snowman ugly sweater ornament

For a tiny apartment with a tiny Christmas tree, I sure do have a lot of ornaments. I can’t stop! They are miniature works of art and I love to look at them on my tree and in every holiday store or catalog. But good ornaments don’t just have to be professionally done. The best part of some trees is the handmade touches from ornaments you can make yourself. So let’s get to making some. And let’s make them ugly.

Ugly sweaters are one of the best parts of holiday fashion, right? People are even throwing ugly sweater parties. And if you’re a little unsure of your crafting abilities, what better way to hide any mistakes than by making something that should be purposefully ugly. Your first step for your ugly sweater ornaments is gathering materials.

felt and sweater ornament template

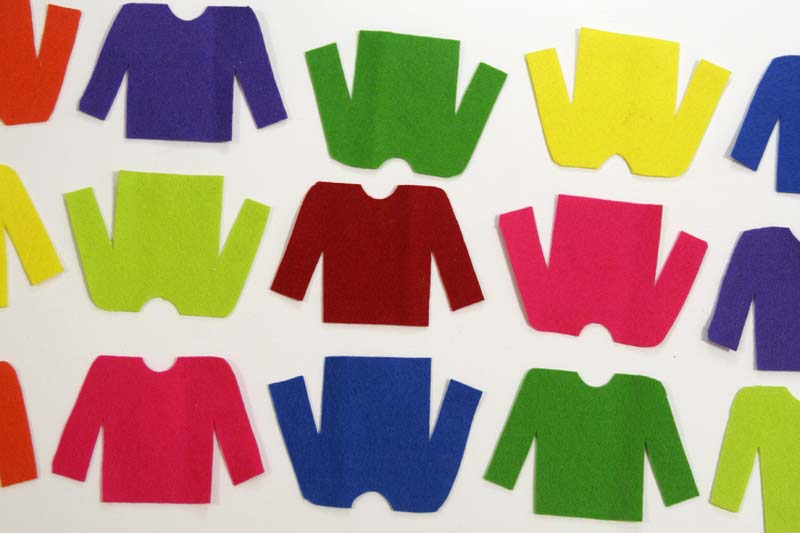
I started with a rainbow of wool felt. I like this felt from Purl Soho because it’s high quality wool and comes in really gorgeous colors, but I think any felt would do. Print and use the Rae’s Days Ugly Sweater Template to cut out the shape of the sweaters.

cut out sweaters for ugly sweater ornaments

After you have a few blank sweaters, use any materials you’d like to decorate them. I used felt to cut out shapes and hot glue them on. I wanted to use materials I had on hand, but if I had any sequins, you can bet they’d be all over these.

decorate and assemble your ugly sweaters

After that, step back and admire your work.

ugly sweater ornaments

I am no perfectionist, and these sweaters are no exception. I didn’t measure, and I didn’t worry about getting everything perfect. These are *ugly* sweaters, remember? But I have to say, they look pretty cute in the end. One of my favorites is the Santa sweater. If you wanted, you could use this same template to make Santa ornaments instead. All you need is some white felt for the accents, and some black buttons (I used my hole punch again to make the little felt circles). Once you’re happy with your collection, you need to add some string or yarn so you can get them on your tree.

cutting string for ugly sweater ornaments

I used some gray yarn I had on hand, and I cut it six inches long. On the template, there is a six-inch ruler you can use to measure your string. Then I made a loop with the yarn and hot glued it into the back of my ornament. The easiest way for me to do this was to use a spare piece of felt and glue that to the back to hold the string in the right place.

back of the ugly sweater ornaments

You could use any spare piece of material you have. I cut some into circles because I thought it looked like buttons on the back. Then, hang it on your tree!

ugly sweater ornament hanging on a christmas treechristmas tree with ugly sweater ornaments

Pick up the Rae’s Days Ugly Sweater Template here, and get started! If you make any, I’d love to see them. Please share on Instagram (I’m raenudson) or Twitter (rclnudson) with the hashtag #raesdays!

pillow talk

rae's days couch

It’s finally time for Apartment Therapy’s Small Cool Spaces contest! I can’t wait to enter, but first I have a few finishing touches to complete for my apartment. One of those touches is these throw pillows.

throw pillows

I made them! Well, I made the pillow cases, anyway. The pillow forms I got from Ikea.

Continue reading “pillow talk”

crafty

things I’d like to be:

  • a morning person
  • a runner
  • a good bug squisher
  • buffy-level badass
  • an excellent detective
  • someone who winters on a tropical island

things I am:

  • definitely not a morning person
  • a yoga do-er when i feel like it
  • super grossed out and scared of bugs
  • not really a night owl either
  • kind of crafty

And I guess the things I am are ok, too. And it’s the being kind of crafty that led to this project that was really fun! Remember this picture frame/jewelry holder I saw before? That was my inspiration. I just made it more me.

I started with a giant hot pink picture frame I’ve been carrying from apartment to apartment because I knew it would be good for something even though it’s pretty heavy and difficult to hang because I rent.

And then I got out the paint that I used on my wall in my old place. Yes, I carried that with me to my new apartment, too. It’s a really good color (it’s Disney’s paint called Star Command Blue in an eggshell)

My favorite part of this whole process was stirring the paint. Look how cool the purple and blue swirls are! And then it magically turned the blue I knew so well.

And I started painting. Now, I’m not the best painter, I’ll admit it. Luckily this paint is pretty thick and it only took two coats. Also, I didn’t sand or prep this frame in any way, and that most likely would have made it work a lot better. But I had limited time and no prep materials, so I made do.

I did one coat. And then another. Some tiny pink still shows few in a few places after I was done, but that gives it character, right? This was after the first coat.

And then I found my ribbons and my hot glue gun and got to gluing. And then I ran out of each color of ribbon, which is why my design is so…unique. But that gives it even more character, right? Then all that’s left to do is add my jewelry to my new jewelry display holder.

One ribbon did come down last night, so I’ll reglue it and add some reinforcements maybe in the form of a nail or tack. But I just love the final product! I’ve been putting off decorating my room because company usually doesn’t see it, but this is a really great start that makes me excited to do more.